

How to Change a Photo Background with AI
Learn how to replace a photo background with AI using a clear prompt, without layers or complex selection tools.
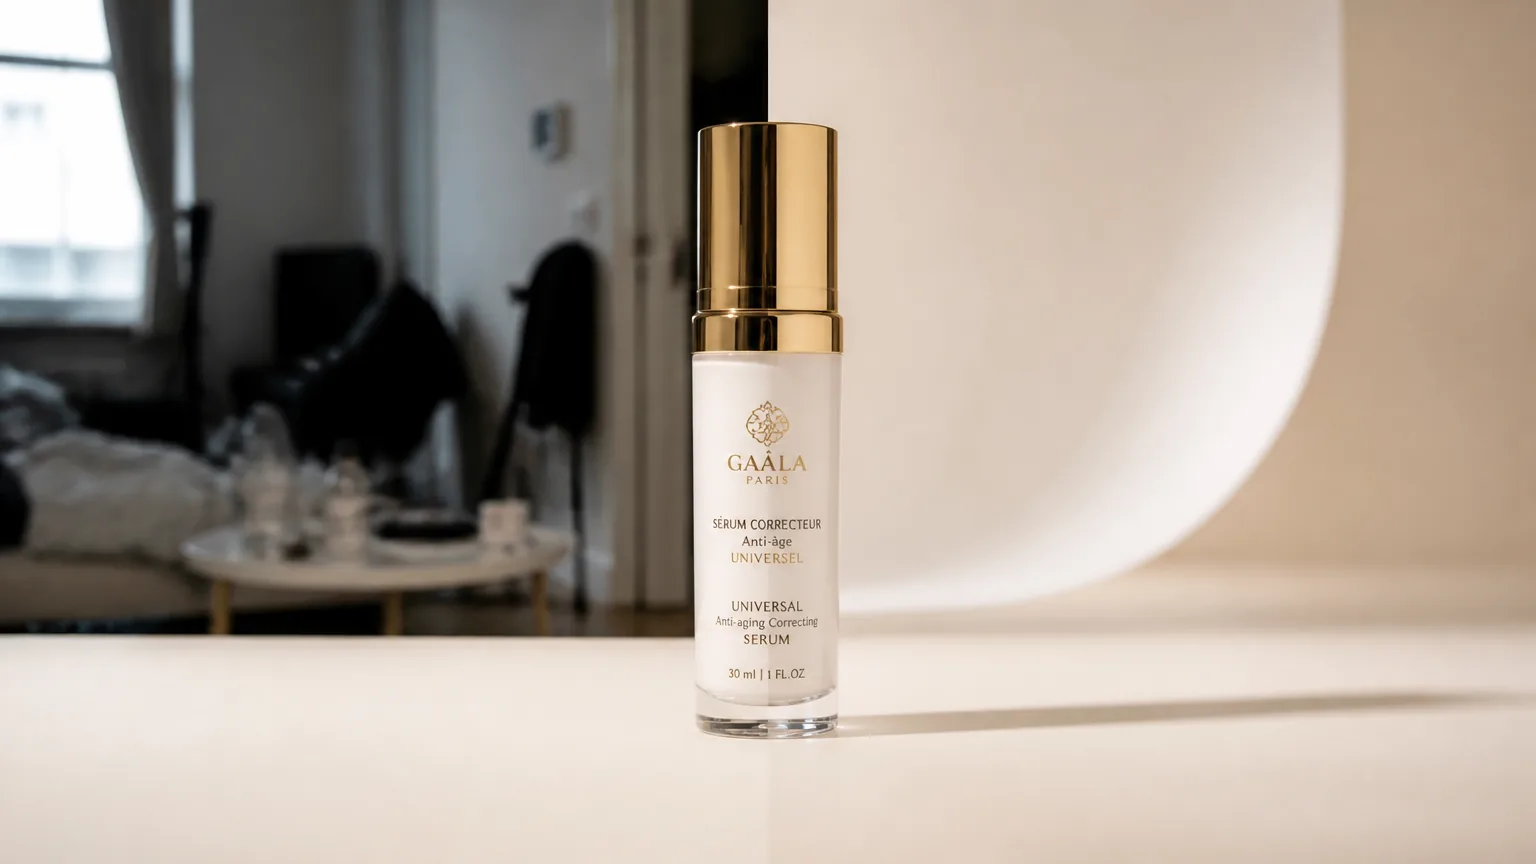
Knowing how to change a photo background with AI is useful when the subject is right but the setting is not. A product may need a cleaner scene, a portrait may need a more professional backdrop, or a campaign image may need room for new copy. The goal is not to rebuild the picture. It is to preserve the subject and make one deliberate change.
Why a background change can improve an image
The background tells viewers how to read a photo. A neutral studio setting can make a product easier to inspect. A calm indoor scene can make a profile photo feel more intentional. For social or campaign work, a new setting can help one source image fit a new visual direction.
Traditional editing usually means selecting edges, masking hair, painting in gaps, and matching light by hand. An AI image changer gives you a faster starting point: upload the image, say what should change, and review the result. It still helps to be specific about the subject, the new environment, and the lighting you want to preserve.
Before you upload: choose the right source photo
Start with the clearest version of the image you have. The subject should be in focus and separated from the original background where possible. Fine details such as hair, transparent packaging, glasses, or thin straps can be harder for any editing system, so a well-lit source image gives the result more to work with.
Decide on the job before writing a prompt. For example, "put this bottle on a white studio sweep" and "place this bottle on a sunlit stone counter" are both background changes, but they need very different lighting, scale, and shadows.
Change a photo background in three steps
1. Upload the original image
Open the AI background replacement tool and upload the photo you want to edit. Keep the source image as your reference point so you can compare whether the product, person, or main object still looks accurate.
2. Describe the replacement scene
Write one focused instruction. Name the background, the mood, and the details that must stay unchanged. Avoid combining several unrelated edits in one request.
For a product image, try:
Replace the background with a clean warm-white studio sweep, soft shadow beneath the product, preserve the packaging, label, proportions, and camera angle.
For a portrait, try:
Replace the background with a softly lit modern office, keep the person's face, hair, pose, and natural skin tone unchanged.
The best prompts tell the model both what to create and what to protect. If the first version changes too much, shorten the scene description and be more explicit about the subject details to preserve.
Try ImageChanger's AI background changer free →
3. Review before downloading
Check the edges first. Look at hair, hands, packaging corners, and the contact shadow where the subject meets the new surface. Then check whether the light direction and scale make sense. A background can look attractive but still feel wrong if the shadows point in a different direction from the original photo.
When you need multiple variations, change one thing at a time: try a new setting, then a new colour temperature, then a different amount of negative space. This makes it easier to choose a result you can actually use.
Five background directions worth testing
- White studio: A practical default for product listings and catalogues.
- Natural texture: Stone, wood, linen, or paper can add warmth without distracting from the product.
- Lifestyle setting: Use a believable room, desk, kitchen, or outdoor setting when context helps explain the product.
- Campaign colour field: A bold, simple colour can give social ads and launch creative a consistent visual system.
- Professional portrait setting: A neutral office, soft gradient, or understated architectural background can work well for profile images.
For another cleanup task, see our guide to removing unwanted objects from photos. If the original image is damaged rather than merely distracting, start with AI old photo restoration instead.
When AI works best, and when to slow down
AI editing is especially useful for focused changes where the subject is clear and the target scene is easy to describe. It is not a substitute for rights clearance, brand review, or a careful final check. Make sure you have permission to edit the source image, and do not assume a generated result is ready for a high-stakes campaign without reviewing it at full size.
For product, client, or commercial work, keep the original file and document the prompt that produced the selected variation. That makes revisions much less painful later.
A simpler way to test a new setting
You do not need to master layers before testing a better scene. Start with one clear photo, write a focused background instruction, and compare the result against the original. That is enough to decide whether the direction is worth developing.