

How to Fix Old Photos with AI: Scratches, Fading, and Tears
A practical workflow for fixing old photos with AI while protecting faces, clothing, film grain, and the details that matter.
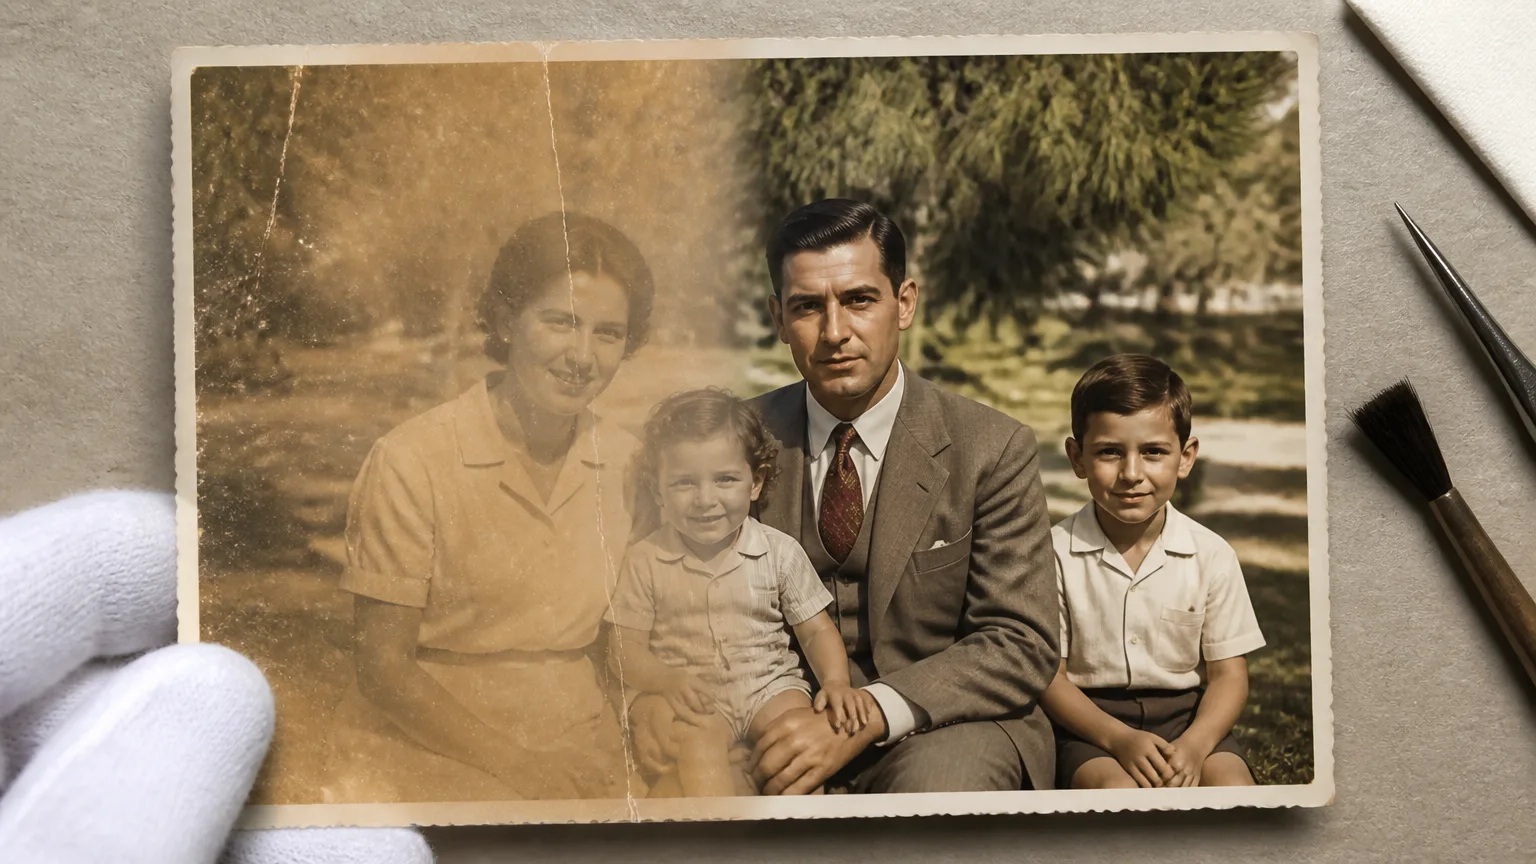
Fixing old photos is usually a repair job, not a redesign job. A family print may be faded, scratched, folded, or marked by dust, but it still contains details you do not want a tool to reinterpret: a face, a uniform, handwriting, or the texture of the original film.
AI can be useful for making damage less distracting. It works best when you identify the damage clearly, preserve an untouched scan, and judge the result against the source instead of accepting the strongest-looking edit.
If you need a general introduction first, read how to restore old photos with AI. This guide focuses on the practical choices involved in fixing specific defects.
Start with a clean source copy
Scan the print at the highest practical resolution. Clean loose dust from the scanner bed, keep the print flat, and avoid aggressive sharpening during the scan. When a scanner is not available, photograph the image in even light with the camera parallel to the print. Reflections and perspective distortion make later repairs harder to assess.
Save the unedited scan in a separate folder before you upload a working copy. That original is your record of what was actually present. It is also the best way to spot an AI edit that has smoothed away a feature or filled a damaged area with plausible but incorrect detail.
Name the damage before asking for a repair
Avoid prompts such as "make this old photo better." They leave too much open to interpretation. Describe the physical problems you can see, then name the features that must remain unchanged.
For minor surface damage, try:
Remove small dust spots, fine scratches, and light stains. Keep the faces, clothing, framing, natural film grain, and original colour character intact. Do not alter lettering or invent missing details.
For a faded colour print, try:
Correct fading and low contrast gently. Reduce the yellow cast while keeping skin tones, clothing colours, film grain, and the original lighting natural. Do not oversaturate or make the photograph look newly taken.
The useful part of both prompts is the preservation rule. It tells the model that restoration should be restrained.
Fix one kind of damage at a time
Scratches, dust, and small stains
Small defects are a good first use for AI restoration. Inspect faces, hands, jewellery, signs, and fine patterned clothing after each result. These areas can look clean while losing information.
Fading and weak contrast
Fading often makes an image look flat, but maximum contrast is rarely the best answer. Ask for a gentle correction, then compare shadows and highlights with the scan. Keep a slightly faded version if it carries more believable detail than a punchier edit.
Creases and tears
Tears crossing a background are easier to repair than tears crossing a face or important object. For large breaks, repair one region at a time and keep each candidate version. If the missing area contains historically important detail, AI can provide a visual reconstruction but cannot prove what was originally there.
A simple repair workflow
- Open the AI old photo restoration tool and upload a copy of the scan.
- Write one focused prompt describing the damage and what must stay unchanged.
- Generate a result, then compare it side by side with the original at full size.
- Keep the most faithful version, not automatically the cleanest one.
Fix an old photo with ImageChanger ->
Check these details before you download
Look at the result in this order:
- Faces and hands: are expressions, eyes, and fingers still believable?
- Text and insignia: has lettering changed or become unreadable?
- Clothing and objects: did seams, jewellery, or edges disappear?
- Grain and texture: does the image still resemble the original medium?
- Repaired areas: do they blend naturally without adding a new object or face?
If a result changes something important, simplify the prompt. A narrower repair request is often safer than a larger "enhance and restore" instruction.
When to stop and preserve the original
AI is not an archival authority. It cannot recover information that is absent from the scan, verify a colour that has faded away, or establish the identity of a person in a damaged portrait. For legal, museum, family-history, or documentary use, keep the original alongside every restored version and label the edited file clearly.
For a damaged image with only minor defects, a careful restoration can make a memory much easier to share. For severe physical damage, take your time, review the output closely, and consider professional conservation advice when the print itself is valuable.